Category: Uncategorized

  • 3 Best design tools for non designer in 2026

    3 Best design tools for non designer in 2026

    Designers often use professional software like Adobe Photoshop to create graphics, banners, advertisements, social media posts, and other visual content. However, working with professional design software requires experience and a good understanding of the tools, which can take a long time for beginners to learn.

    For people who have little or no design experience, learning complex software can be overwhelming. That’s why many beginners are looking for design tools that are easy to use and allow them to create professional-looking designs in just a few minutes.

    Best design tools for non designer

    There are many design tools available on the internet today, including both free and paid options. Unlike traditional professional software, these tools are designed to be beginner-friendly and require little time to learn, making them a great choice for non-designers who want to create professional designs quickly. Here are the 3 best design tools for non designer in 2026

    1. Canva

    Canva is one of the most popular online design tools, offering a large collection of ready-made design templates. Users can simply choose a template and edit it to create their own design, or start from scratch by dragging and dropping different elements onto the canvas.

    One of Canva’s coolest features is its built-in AI capabilities. Users can use Canva AI to generate design ideas and get inspiration when creating new designs.

    Canva is especially popular among non-designers because it makes it easy to create professional-looking designs without needing extensive design experience.

    2. Figma

    Figma is a popular design tool used by many designers, especially for creating UI designs for websites and mobile apps. Users can also use Figma to create social media graphics, banners, presentations, and other visual content.

    Figma provides powerful design tools directly in the browser, so users don’t need to install complicated software to get started. While Figma is widely used by professional designers, beginners can also use it to create their own designs and learn the basics of design.

    Another useful feature of Figma is collaboration. Users can share their designs with others and work together on the same project in real time. After creating a design, users can also export it in formats such as PNG, JPEG, and SVG.

    For non-designers who want to learn design or create their own graphics, Figma can be a good place to start in 2026.

    3. Layercy

    Layercy is a great choice for non-designers who want to create professional-looking designs using AI. Unlike many AI design tools that generate a flat PNG image, Layercy can create editable designs with individual elements that users can modify.


    Layercy can be especially helpful if you have little or no design experience. Its AI understands important design concepts such as layout, typography, colors, spacing, and padding, allowing users to create designs without having to understand every aspect of professional design software.

    Another useful feature is AI-powered editing. Instead of manually searching through different tools and settings, users can simply describe what they want to change by chatting with the AI. For example, users can ask the AI to move an element, change its color, or modify the design.
    Once the design is ready, users can export it in different formats, including PNG, JPEG, and WebP

    Conclusion

    You don’t need years of design experience to create professional-looking designs today. Tools like Canva, Figma, and Layercy make it easier for beginners and non-designers to create designs quickly. Choose the tool that best fits your needs and start creating.
  • How to compress a png file

    How to compress a png file

    PNG files are popular because they support transparent backgrounds and preserve image quality. However, PNG images can sometimes be much larger than necessary, especially when they contain detailed graphics, screenshots, or high-resolution images.

    Compressing a PNG file can significantly reduce its file size, making it faster to upload, share, and load on websites while keeping the image looking sharp.

    What Does PNG Compression Mean?

    PNG compression is the process of reducing the file size of a PNG image while preserving as much visual quality as possible.

    There are two common approaches:

    • Lossless compression: Reduces file size without removing image information. The image remains exactly the same visually.
    • Lossy compression: Removes some image data to achieve a much smaller file size. The difference may be difficult to notice, depending on the image.

    For websites, apps, and social media, choosing the right compression level can help balance image quality and file size.

    How to Compress a PNG File

    1. Use an Online PNG Compressor

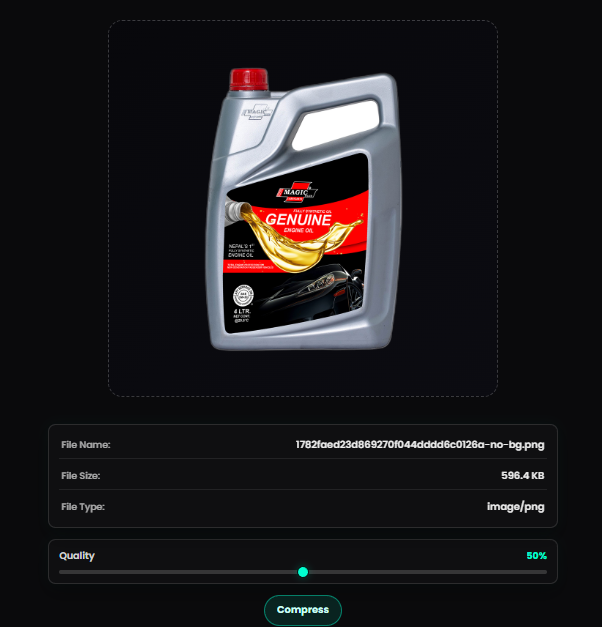
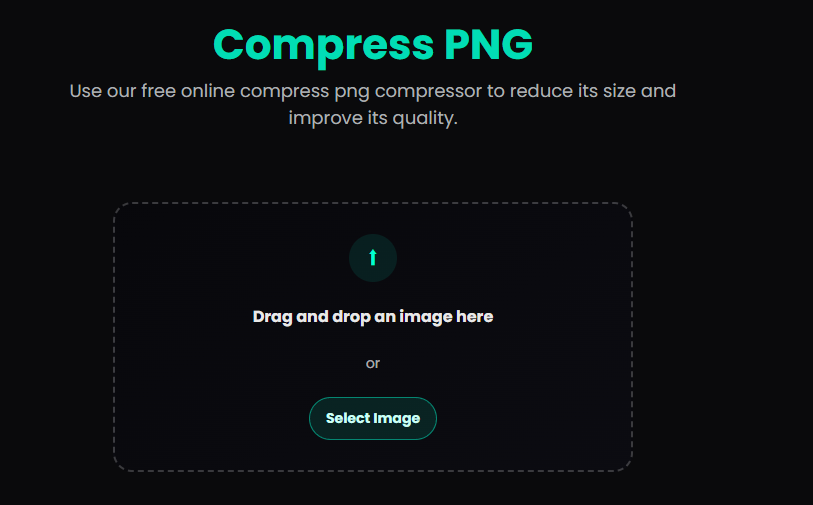
    The easiest way to compress a PNG is to use an online image compression tool such as Layercy PNG compresser.

    Usually, the process is:

    1. Upload your PNG file.
    PNG Compresser
    1. Choose your desired compression level, if available.

    Png Compressor
    1. Let the tool process the image.

    Png Compressor
    1. Download the compressed PNG image

    This method is useful when you don’t want to install any software.

    2. Reduce the Image Dimensions

    A large PNG image doesn’t always need to have its original dimensions.

    For example, if your image is 4000 × 4000 pixels but you only need it to display at 1000 × 1000 pixels, resizing it can dramatically reduce the file size.

    Before compressing, consider whether you actually need the original resolution.

    3. Remove Unnecessary Metadata

    PNG files can contain additional information such as metadata, editing information, and other data that isn’t required for displaying the image.

    Removing unnecessary metadata can reduce the file size without noticeably changing the image.

    4. Reduce the Number of Colors

    If your PNG contains a limited number of colors, reducing its color palette can produce a significantly smaller file.

    This works particularly well for:

    • Logos
    • Icons
    • Illustrations
    • UI screenshots
    • Simple graphics
    • Infographics

    However, reducing colors too aggressively can introduce visible artifacts, so it’s important to check the result.

    5. Convert the Image When PNG Isn’t Necessary

    PNG isn’t always the best format for every image.

    If you’re compressing a photograph, formats such as JPEG or WebP may produce a much smaller file than PNG while maintaining good visual quality.

    PNG is generally a good choice when you need:

    • Transparency
    • Sharp text
    • Logos
    • Illustrations
    • Graphics with flat colors

    Why Should You Compress PNG Files?

    Compressing PNG images provides several benefits.

    Faster website loading: Smaller images require less data to download, which can improve page loading speed.

    Smaller storage requirements: Compressed images take up less disk space.

    Faster uploads and downloads: Smaller files are quicker to upload, send, and download.

    Better website performance: Reducing image sizes can help improve overall website performance, particularly for users on slower connections.

    How Much Can You Reduce a PNG File?

    The amount of compression depends heavily on the image.

    A PNG containing simple graphics or large areas of solid color may be reduced considerably. A complex image with many colors and details may see a smaller reduction.

    For example:

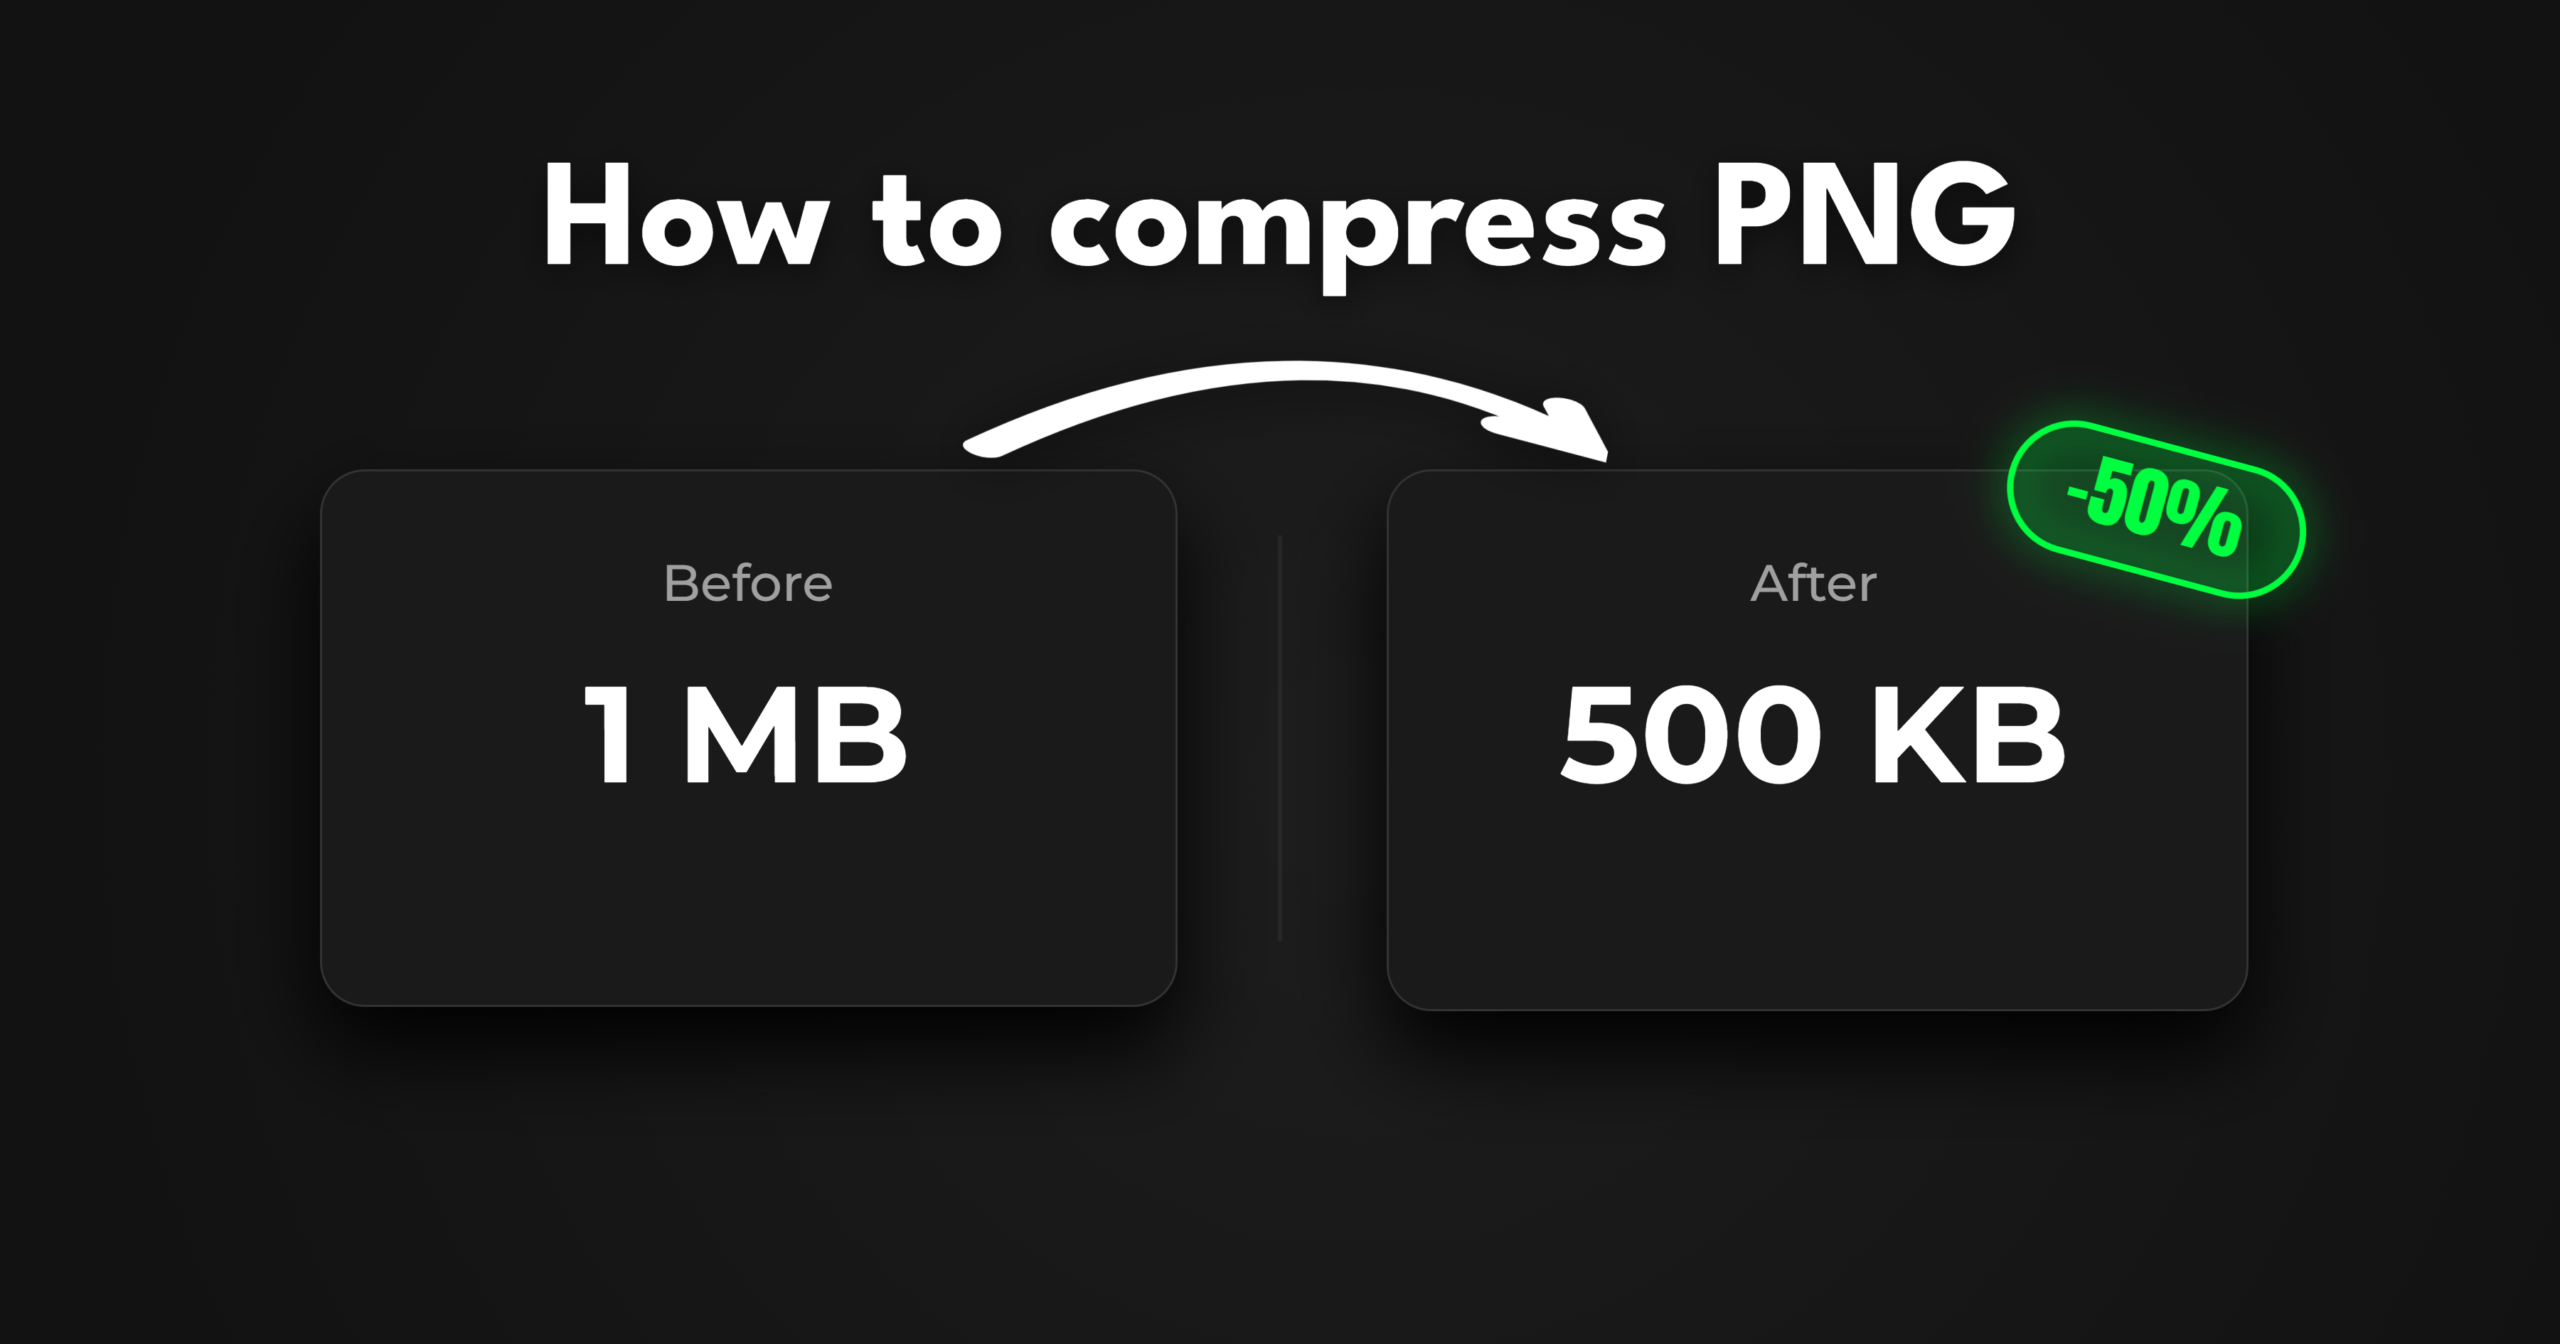
    Original PNG: 2 MB
    Compressed PNG: 800 KB
    File size reduction: 60%

    The important thing isn’t simply achieving the smallest possible file size. The goal is to find a good balance between file size and image quality.

    PNG Compression vs. Resizing

    These two techniques are different.

    Compression reduces the amount of data stored in the image while keeping its dimensions the same.

    Resizing changes the dimensions of the image itself.

    For the best results, you can often combine both methods:

    Resize → Compress → Check quality

    This can produce a much smaller image without making it look noticeably worse.

    Conclusion

    Compressing a PNG file is a simple way to reduce image size while keeping your images useful and visually appealing. For the best results, start by resizing unnecessarily large images, then apply PNG compression and check the final quality.

    For occasional images, an online PNG compressor is usually the quickest option.